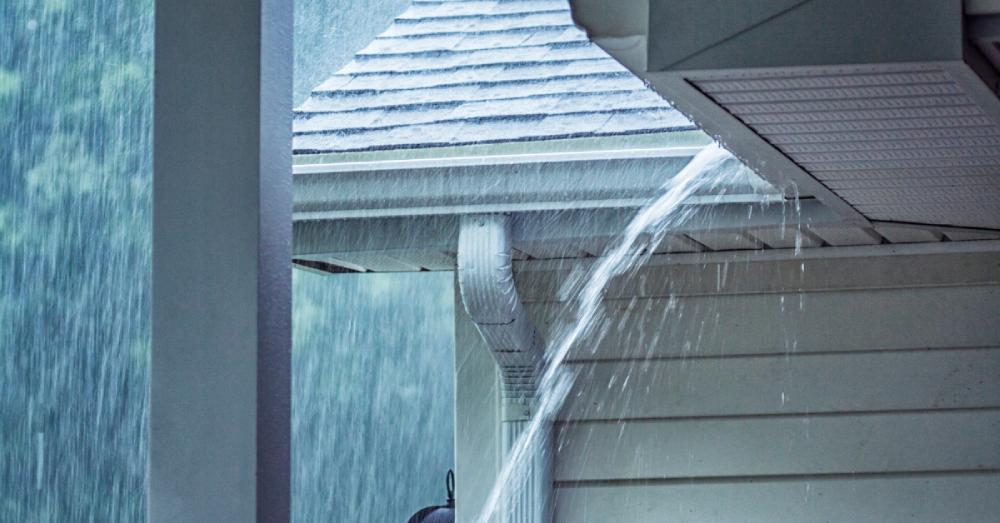
Unexpected roof damage can happen anytime, often leaving homeowners scrambling to prevent further harm to their property. Severe weather, fallen branches, or other unforeseen incidents can compromise the roof’s integrity, allowing leaks, water damage, and even structural issues to develop if not addressed immediately.
Emergency Roof Repairs: Essential Steps to Protect Your Home
In this guide, we’ll walk you through the essential steps for managing emergency roof repairs and protecting your home until a professional can assess and repair the damage.
Step 1: Prioritize Safety First
Before inspecting the damage, ensure your safety and that of anyone else in the home. Roof damage can create hazardous conditions, such as sharp debris, exposed wiring, or structural instability. Refrain from climbing onto the roof yourself—especially during or right after a storm—since wet or damaged surfaces increase the risk of slipping or further damage.
If you suspect structural damage, avoid entering any part of the home that could be affected, such as the attic or rooms below the damaged area. It’s better to wait for a professional roofer or a first responder to assess the safety of these areas before entering.
Step 2: Assess the Extent of the Damage from the Ground
After ensuring your safety, the next step in managing emergency roof repairs is to assess the visible damage from the ground. Look for obvious signs of roof damage, such as:
- Missing or broken shingles
- Fallen branches or debris on the roof
- Visible holes or cracks
- Sagging roof areas
- Damaged flashing around chimneys or vents
This preliminary assessment will help you describe the damage when contacting a professional roofer, and it will give you an idea of the severity of the situation. Documenting the damage with photos or video can be helpful for insurance purposes.
Step 3: Prevent Further Water Intrusion
If your roof has been compromised, taking steps to prevent water from entering your home is essential. Here’s what you can do:
- Cover the Interior with Plastic Sheets or Tarps: If you notice leaks in the ceiling, cover furniture and valuables with plastic sheets or tarps to prevent water damage.
- Use Buckets or Containers: Place buckets under any visible leaks to catch dripping water and minimize damage to floors and belongings.
- Move Electronics and Valuable Items: Relocate electronics, documents, and valuable items away from areas that may become exposed to leaks or water damage.
Preventing water intrusion as much as possible can minimize the scope of damage and help you avoid costly repairs inside the home.
Step 4: Temporarily Cover the Damaged Area
For homeowners comfortable with DIY repairs and if weather permits, you can apply a temporary cover to the damaged part of the roof to reduce further damage until emergency roof repairs can be done. Here’s how:
- Use a Tarp: Secure a heavy-duty tarp over the damaged section of the roof. Make sure it extends several feet beyond the damaged area on all sides.
- Fasten the Tarp: Use nails or heavy-duty roofing tape to secure the tarp’s edges, ensuring it remains in place even if the wind picks up.
While this step can be helpful, it’s essential to exercise caution. If the roof damage is extensive or the area seems unstable, it’s best to wait for a professional to avoid injury or further harm to the roof.
Step 5: Contact a Professional Roofing Contractor
One of the most crucial steps in handling emergency roof repairs is contacting a licensed roofing contractor as soon as possible. Emergency roofers are experienced in quickly assessing damage, providing temporary repairs, and scheduling a full repair as soon as weather conditions allow.
When calling, provide as much detail as possible about the damage and share photos if requested. Many roofing companies offer 24/7 emergency services and can advise you on immediate actions to take while you wait for their arrival. To avoid delays, contact a reputable roofing company and check that they have experience with emergency repairs.
Step 6: Document the Damage for Insurance
For many homeowners, emergency roof repairs will involve filing an insurance claim. Documenting the damage thoroughly will support your claim and ensure that you receive the compensation needed to repair or replace the damaged roof. Here’s what to include in your documentation:
- Photos and Videos: Capture images and videos of the damaged areas, including close-ups and wide shots showing the extent of the damage.
- List of Damaged Items: Create an inventory of any interior or exterior items damaged by leaks or water intrusion.
- Professional Estimate: Many insurance companies require a repair estimate from a licensed contractor. Request a written estimate from your roofing professional for submission with your claim.
Once documented, contact your insurance company to begin the claims process. Be sure to follow their guidelines and provide all necessary information to streamline the process.
Step 7: Schedule Permanent Repairs
After the initial emergency roof repairs, schedule a time for permanent repairs with your roofing contractor. Temporary fixes like tarps and plastic sheets offer short-term protection but are not designed to last long-term. A professional roofer will assess the full extent of the damage and provide a permanent solution that restores your roof’s integrity and ensures the safety of your home.
Final Thoughts on Emergency Roof Repairs
Experiencing unexpected roof damage can be stressful, but knowing the right steps can make a big difference in minimizing further damage and managing the repair process effectively. Prioritizing safety, protecting your home from water intrusion, and contacting a reputable roofing professional are key actions to ensure that emergency roof repairs are handled swiftly and efficiently. With proper planning and immediate action, you can restore your home’s protection and prevent further costly damage.