The Importance of Roof Flashing Reinforcement Before Storms
When storm season approaches, one of the most crucial elements to protect is your roof. A key factor in preventing water damage is reinforcing your roof flashing. Roof flashing is the material used around the edges of your roof, vents, chimneys, and skylights to help guide water away and prevent leaks. Damaged or weak flashing can lead to significant water penetration and long-term structural issues. Knowing how to reinforce roof flashing can make a substantial difference in minimizing damage and keeping your home secure.
This guide will cover why reinforcing roof flashing is important, how it prevents water intrusion, and steps to fortify your roof flashing before a storm hits.
Why Reinforcing Roof Flashing is Essential for Storm Protection
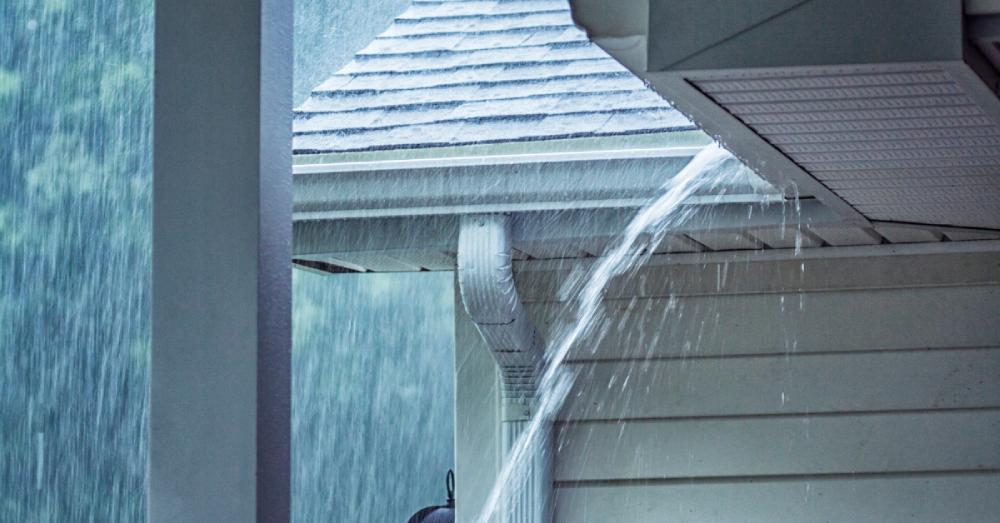
Roof flashing is particularly vulnerable during storms. Heavy rains, high winds, and even hail can easily weaken or displace flashing, which can open up paths for water to seep into the roof. Over time, even minor flashing damage can lead to:
- Roof leaks and water spots
- Structural damage due to rot and mildew
- Costly repairs due to mold growth or insulation damage
By reinforcing roof flashing, you’re effectively sealing potential points of entry for water, thereby reducing the likelihood of leaks and prolonging the life of your roof.
How to Reinforce Roof Flashing Before a Storm: Step-by-Step Guide
Step 1: Conduct a Roof Flashing Inspection
Tools Needed: Binoculars, flashlight, ladder
Start by examining the roof to identify areas of flashing that may need reinforcement. You can do this from the ground with binoculars or use a ladder to get a closer look if safe. Pay special attention to areas around chimneys, vents, valleys, and skylights—these are typical areas where flashing might be vulnerable.
- Look for signs of wear, such as gaps, loose nails, or lifted edges.
- Inspect for rust or any visible cracks.
- Check areas prone to water accumulation as they may need extra attention.
Tip: It’s ideal to inspect your roof flashing in dry, clear weather to get a thorough view of any problems.
Step 2: Clean the Flashing Surface
Tools Needed: Wire brush, mild detergent, soft cloth
Dirt, debris, and oxidation can prevent flashing repairs from holding effectively. Use a wire brush to scrub away any buildup, then clean with a mild detergent and water solution. Rinse thoroughly and let the flashing dry before moving to the next step.
- Ensure all areas to be reinforced are clean and dry.
- Remove any loose or flaking material, as this can weaken the adhesive used later.
Tip: If you notice rust spots, remove them carefully, as this can interfere with the flashing’s integrity.
Step 3: Apply Roofing Cement to Vulnerable Areas
Tools Needed: Roofing cement, trowel or caulking gun, gloves
Roofing cement is an excellent material to use for reinforcing flashing, as it helps seal small gaps and adds an extra layer of waterproofing. Apply a thin layer of roofing cement along any seams, gaps, or visible cracks.
- Use a trowel or caulking gun to spread an even layer over any compromised areas.
- Make sure to press the cement down firmly for maximum adherence.
Tip: Work in small sections to ensure precise application, and wear gloves to avoid skin irritation.
Step 4: Install Flashing Tape for Extra Protection
Tools Needed: Flashing tape, scissors, gloves
For added reinforcement, flashing tape is a durable, waterproof material that creates a powerful seal. Flashing tape can be particularly useful for areas around seams or where the flashing meets other roofing materials.
- Cut the tape to the desired length, ensuring it covers the entire area you want to seal.
- Apply the tape firmly, pressing it into place to avoid air bubbles.
- Ensure the edges of the tape are securely pressed down to prevent peeling.
Tip: Look for UV-resistant flashing tape for longer-lasting protection against sun exposure.
Step 5: Nail Down Any Loose Flashing Pieces
Tools Needed: Roofing nails, hammer, nail set, safety gear
If your flashing appears loose, it’s essential to secure it firmly in place. Use roofing nails to reinforce any loose edges or corners.
- Place nails evenly along the edge of the flashing, spacing them 6-8 inches apart.
- Ensure that each nail is fully embedded to prevent wind from lifting the flashing during storms.
Tip: Avoid over-nailing, as this can cause stress cracks. If possible, use nails designed for roofing to ensure a secure fit.
Step 6: Apply Sealant to Finalize Protection
Tools Needed: Roof sealant, caulking gun
Finally, apply a roof sealant over any nails, seams, or vulnerable edges. Sealant will create an additional barrier that protects against water penetration, especially in areas more exposed to wind-driven rain.
- Apply the sealant generously over all previously reinforced areas.
- Spread it evenly, using a caulking gun for precision, especially around chimneys and vents.
Tip: Allow the sealant to dry completely before exposing it to moisture. Check the drying times recommended on the sealant label.
Additional Tips for Storm-Ready Flashing
- Inspect Regularly: Make roof flashing checks part of your regular home maintenance, particularly before and after the storm season.
- Professional Inspection: For complex areas or multi-story roofs, consider hiring a professional roofer to ensure all vulnerable points are properly secured.
- Use High-Quality Materials: Flashing tape and roofing cement vary in quality; opt for weather-resistant materials designed for storms and extreme weather.
By following these simple steps, you can reinforce your roof flashing, minimize potential water damage, and increase your roof’s longevity.
Conclusion: Secure Your Roof Before the Next Storm Hits
Reinforcing roof flashing before a storm is one of the most effective ways to protect your home from water damage. By taking a few preparatory steps, you can reduce the risk of costly leaks and improve your roof’s durability. With this guide, you’re equipped with the knowledge to prepare your roof flashing and ensure your home stays dry and safe through any storm season.