It’s not just about picking the right materials, but also knowing what to expect from start to finish. From the initial consultation to the final cleanup, here’s a breakdown of what typically happens during a roof installation to help you feel prepared and confident.
1. Initial Consultation and Inspection
The process begins with an initial consultation with a roofing contractor. During this meeting, the contractor will discuss your needs, preferences, and budget. They will then conduct a thorough inspection of your current roof to assess its condition and determine whether a complete replacement is necessary. The inspection will include checking for damage, leaks, wear and tear, and the overall structural integrity of the roof.
2. Choosing Roofing Materials
Once the inspection is complete, you’ll discuss roofing material options with the contractor. Factors to consider include the material’s durability, cost, aesthetic appeal, and suitability for your home’s climate. Common materials include asphalt shingles, metal roofing, clay or concrete tiles, slate, and wood shingles. The contractor will provide samples and help you choose the best material for your home.
3. Estimates and Contract Signing
After selecting the roofing material, the contractor will provide a detailed estimate, including the cost of materials, labor, and any additional expenses such as permits or disposal fees. Make sure to review the estimate carefully and ask questions if anything is unclear. Once you agree on the terms, you will sign a contract outlining the project details, including the scope of work, timeline, payment schedule, and warranty information.
4. Preparing for Installation
Before installation begins, the contractor will take steps to prepare the worksite. This includes securing the necessary permits, ordering materials, and scheduling a delivery date. You may need to prepare your home by removing outdoor furniture, covering plants, and making arrangements for pets or children. The contractor will also set up protective barriers and tarps around your property to safeguard landscaping and outdoor spaces.
5. Old Roof Removal
On the installation day, the crew will first remove the old roofing materials. This process involves stripping off the existing shingles, underlayment, and any damaged decking. The debris is carefully collected and disposed of according to local regulations. This step is crucial for inspecting the roof deck’s condition and ensuring a clean surface for the new roof installation.
6. Roof Deck Inspection and Repairs
With the old roof removed, the contractor will inspect the roof deck for any damage or rot. If any issues are found, they will need to be repaired or replaced to ensure a solid foundation for the new roof. This might include replacing sections of decking, reinforcing structural elements, or addressing water damage. Proper deck preparation is essential for the longevity and stability of the new roof.
7. Installing Underlayment and Flashing
Once the roof deck is prepared, the next step is to install the underlayment, a protective layer that helps prevent water infiltration. This is typically made of a water-resistant material, such as synthetic underlayment or felt paper. The contractor will also install flashing around roof features like chimneys, vents, and skylights to create a watertight seal. Flashing is crucial for preventing leaks and ensuring the roof’s durability.
8. Installing New Roofing Material
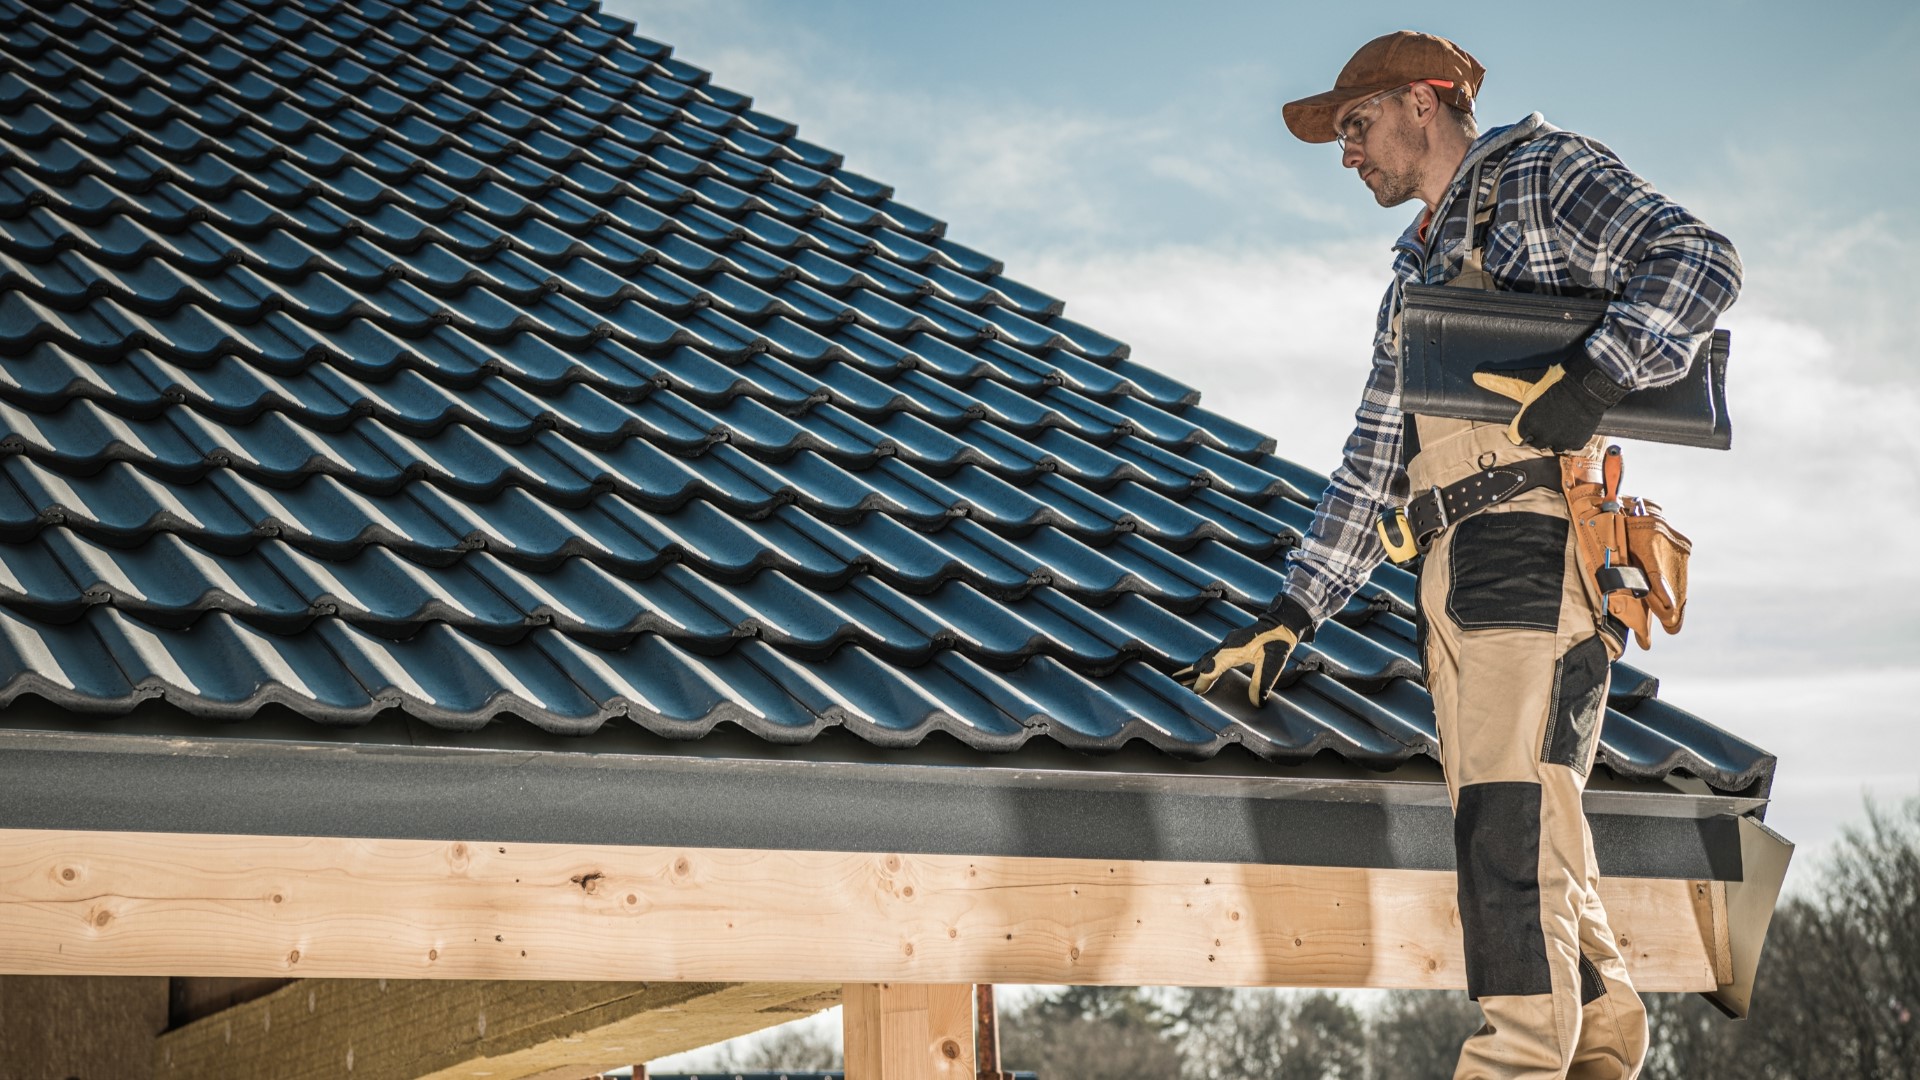
After the underlayment and flashing are in place, the crew will begin installing the new roofing material. The installation process varies depending on the material chosen. For example, asphalt shingles are nailed in overlapping rows, while metal panels are secured with screws and clips. The contractor will follow manufacturer guidelines and best practices to ensure proper installation, which is critical for the roof’s performance and warranty coverage.
9. Final Inspection and Cleanup
Once the new roof is fully installed, the contractor will conduct a final inspection to ensure everything is properly installed and meets quality standards. This inspection includes checking for proper alignment, secure fastening, and overall craftsmanship. Any issues identified will be addressed before the job is considered complete. The crew will also clean up the worksite, removing all debris, nails, and equipment. They will ensure your property is left in good condition, with all waste properly disposed of.
10. Reviewing the Work and Warranties
After the installation and cleanup are complete, the contractor will review the work with you. They will explain the warranty terms for both the materials and workmanship, and provide any necessary documentation. Make sure to keep all paperwork, including the contract and warranty information, for future reference. The contractor will also provide maintenance tips and advise on how to care for your new roof.
Conclusion
Getting a new roof installed involves several important steps, from the initial consultation and material selection to the final inspection and cleanup. By understanding the process, you can better prepare for each stage and ensure a smooth and successful project. Choosing a reputable contractor, selecting the right materials, and maintaining clear communication throughout the process are key to achieving a durable and aesthetically pleasing new roof that will protect your home for years to come.